I learned how to make these beautiful fabric flowers and now I'm obsessed!
 These are burned-edge flowers and you can make them into pins or headbands or hair clips or purse clips or shoe clips or cards. The possibilities are endless!
 The first step is cutting coordinating fabric circles of graduating sizes from 100% Polyester fabric. The polyester fabric singes well along the edges.
Light a candle, and carefully singe the edge of a circle, while rotating it until the whole circle is singed. Trust me on this- it sounds scary, but it's not- just try it and you'll see that the edges will curl up pretty quickly. (I tried to get a picture, but burning flammable fabric with one hand and taking a picture with the other proved to be a really dumb thing to do:)
 Your circles will look sort of like these.
 Layer the circles together graduating from smallest to biggest. Find a pearl, charm, bead or button you like. Then, using a needle and thread, just sew the whole flower together in the center while attaching the bead.
 I made most of mine into pins by hot-gluing craft pins (Michael's) to the back, but I have seen these types of flowers on headbands and hair clips too. Good luck and have fun!
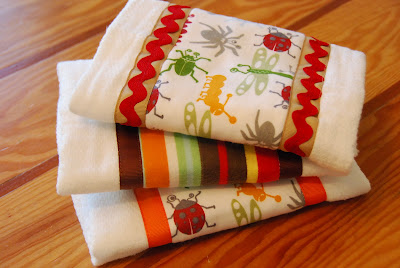
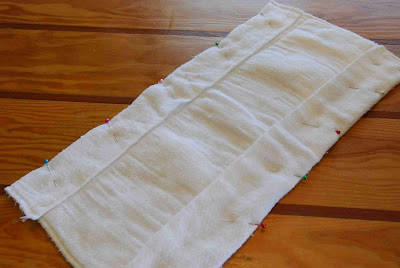 Sew the folded part in place, along the inside vertical line, and on the top and bottom edges (to close the two pieces). This makes the outside edges thicker and more absorbent.
  Next, measure and cut your flannel, leaving 1/2 " extra on either end, to tuck underneath so you won't have a raw edge.
 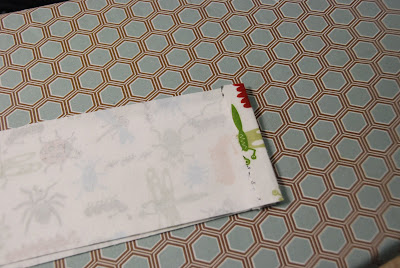 Iron the 1/2" fold on both ends.
  Then pin the flannel in place with the top and bottom edges folded under, and sew around all four edges. (The side edges will be raw at this point, but you are going to cover them with ribbon!)
 Next, measure your ribbon, leaving 1/2" extra on both ends, iron it folded under so it stays while you sew (just like you did with the flannel), pin it in place, and sew it up and down either edge.
  Ric Rac Option: If you want to make a ric rac ribbon, you will sew the ric rac onto the ribbon first, and then fold the top and bottom edges under, pin in place, and sew up and down both sides of the ribbon to secure. Super Cute!
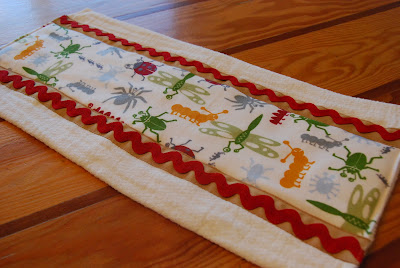
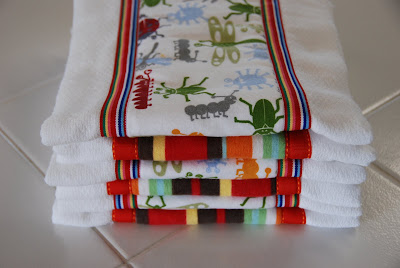 A stack of burp cloths makes a great baby shower gift!


